1. 安装Hugo
-
使用Chocolatey搭建
PowerShell执行管理员身份下面命令先安装Chocolatey
1
|
Set-ExecutionPolicy Bypass -Scope Process -Force; [System.Net.ServicePointManager]::SecurityProtocol = [System.Net.ServicePointManager]::SecurityProtocol -bor 3072; iex ((New-Object System.Net.WebClient).DownloadString('https://community.chocolatey.org/install.ps1'))
|
1
|
choco install hugo -confirm #安装hugo
|
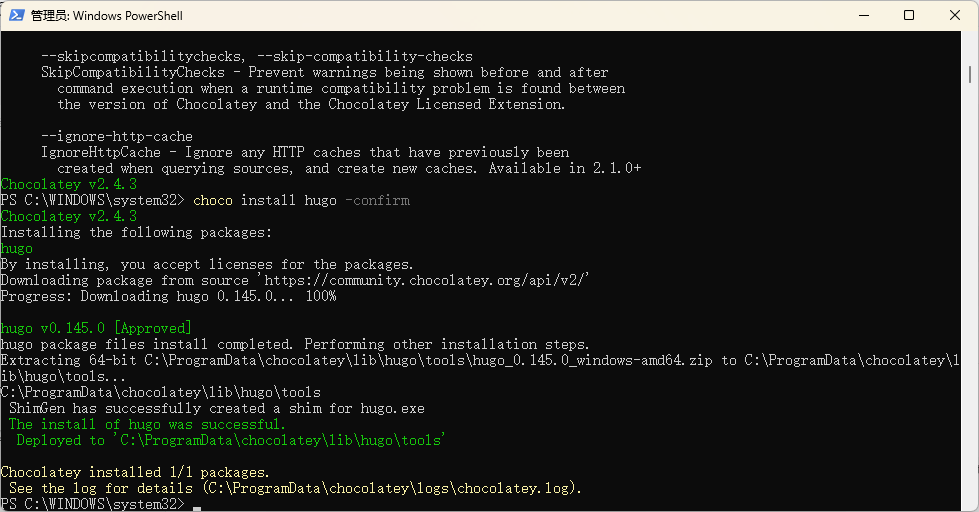
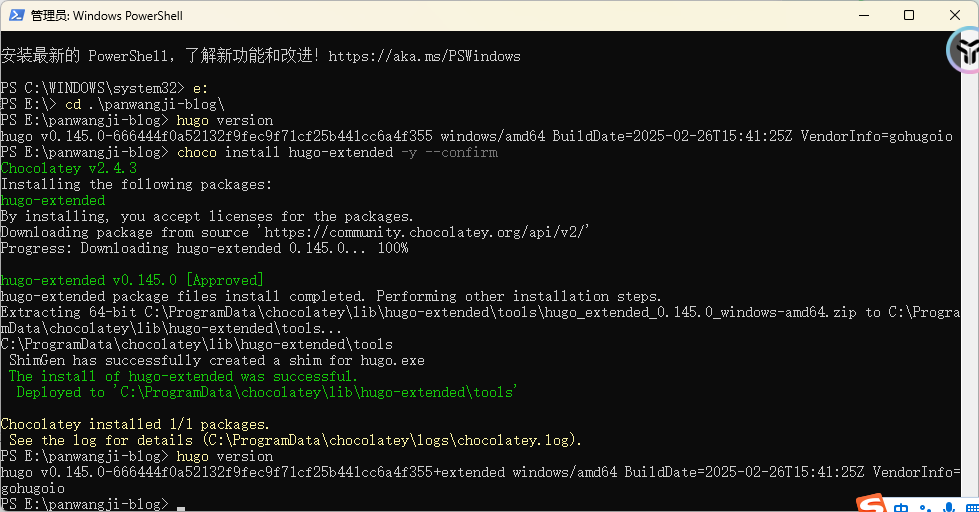
安装hugo拓展版
1
|
choco install hugo-extended -y --confirm #安装Hugo 扩展版(必需)
|
2. 创建 Hugo 项目
- 初始化项目
执行如下命令创建Hugo项目
1
2
3
4
5
|
# 1. 创建 Hugo 项目
hugo new site my-blog
cd my-blog
# 2. 初始化 Git 仓库
git init
|
1
2
3
4
5
|
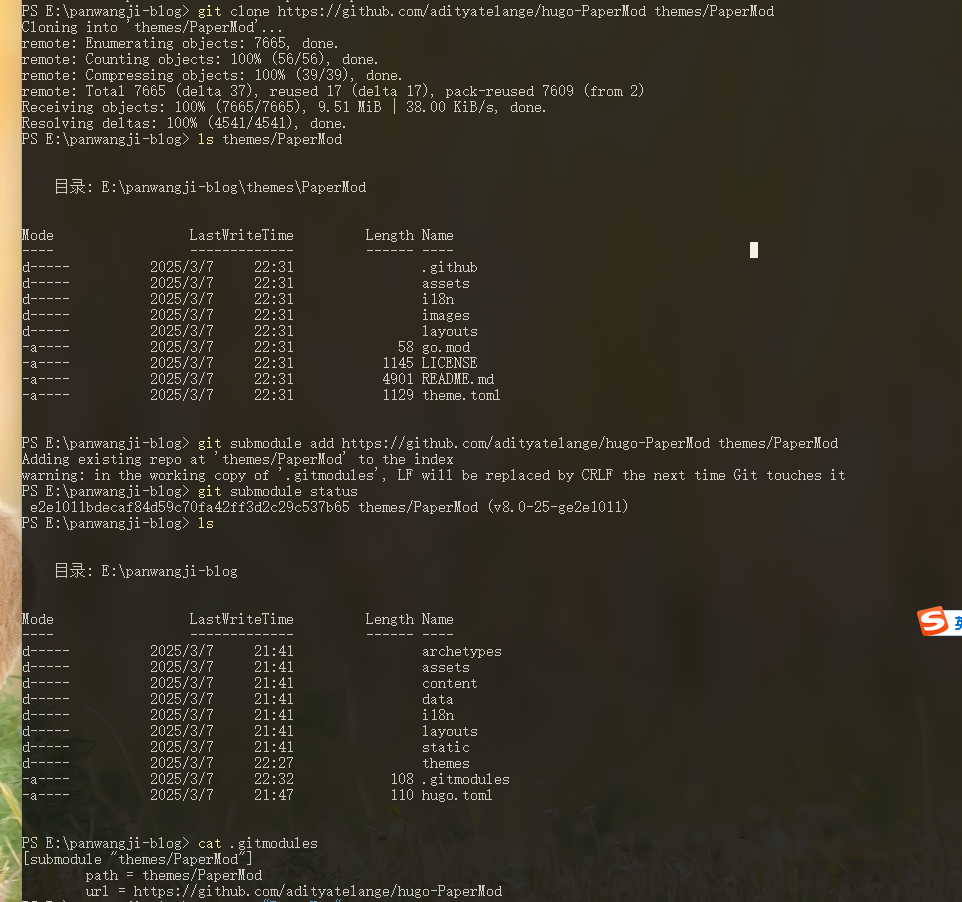
# 3. 添加主题子模块(必须在项目根目录执行)
git submodule add https://github.com/adityatelange/hugo-PaperMod themes/PaperMod
# 4. 验证
ls themes/PaperMod  # 应看到主题文件
cat .gitmodules     # 应显示子模块配置
|
在添加主题的时候由于网速比较慢,所有经常下载主题失败。我使用如下方式添加主题,先 clone主题下来,在执行submodule。
1
2
3
|
#添加主题子模块(必须在项目根目录执行)
git clone https://github.com/adityatelange/hugo-PaperMod themes/PaperMod
git submodule add https://github.com/adityatelange/hugo-PaperMod themes/PaperMod
|
更多添加主题:从https://themes.gohugo.io/下载喜欢的主题,直接拷贝至 technical_blog/themes 目录,并修改配置文件 hugo.toml,删除 url 字段,添加 theme=’ 主题名 ‘。
- 配置主题
修改 hugo.toml 文件,Hugo支持TOML、YAML和JSON三种格式配置文件,优先级为hugo.toml > hugo.yaml > hugo.json
 1
 2
 3
 4
 5
 6
 7
 8
 9
10
11
12
13
14
15
16
17
18
19
|
baseURL = 'https://panwangvie.github.io'
languageCode = 'zh-cn'
title = 'My New Hugo Site'
theme = "PaperMod" #使用的主题
defaultContentLanguage = "zh-cn"  # 新增此行,设置默认语言为中文

[build]
  publishDir = "public"

# 中文语言配置
[languages.zh-cn]
  weight = 1
  title = "我的博客"
  languageName = "中文"

[params]
  dateFormat = "2006-01-02"
  [params.social]
    GitHub = "https://github.com/panwangvie"
|
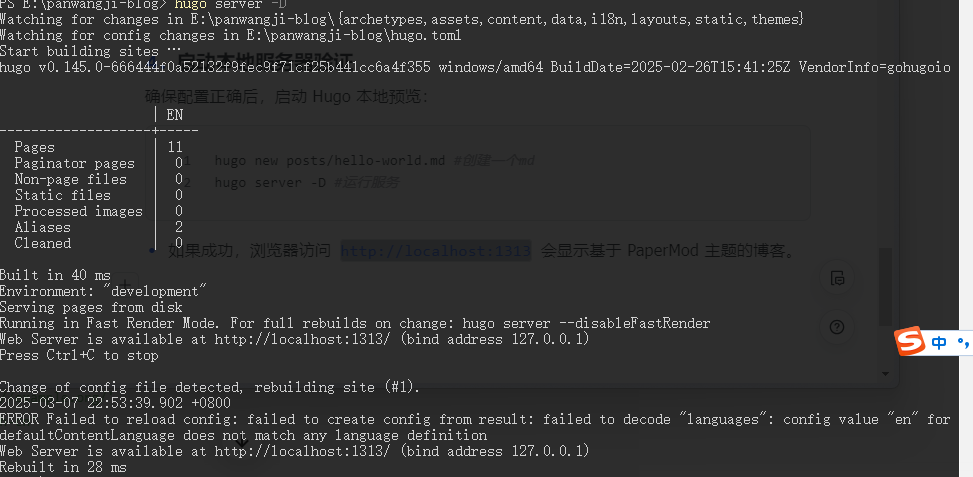
3. 启动本地服务器验证
确保配置正确后,启动 Hugo 本地预览:
1
2
3
|
hugo new posts/hello-world.md #创建一个md
hugo server -D #运行服务
hugo -D --minify
|
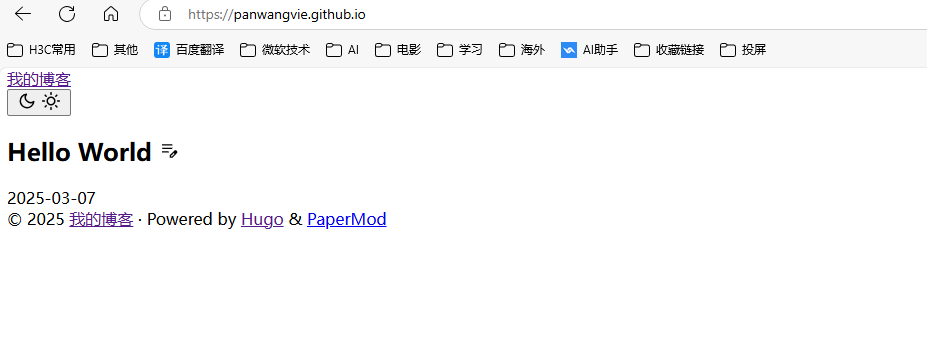
- 如果成功,浏览器访问
http://localhost:1313 会显示基于 PaperMod 主题的博客。
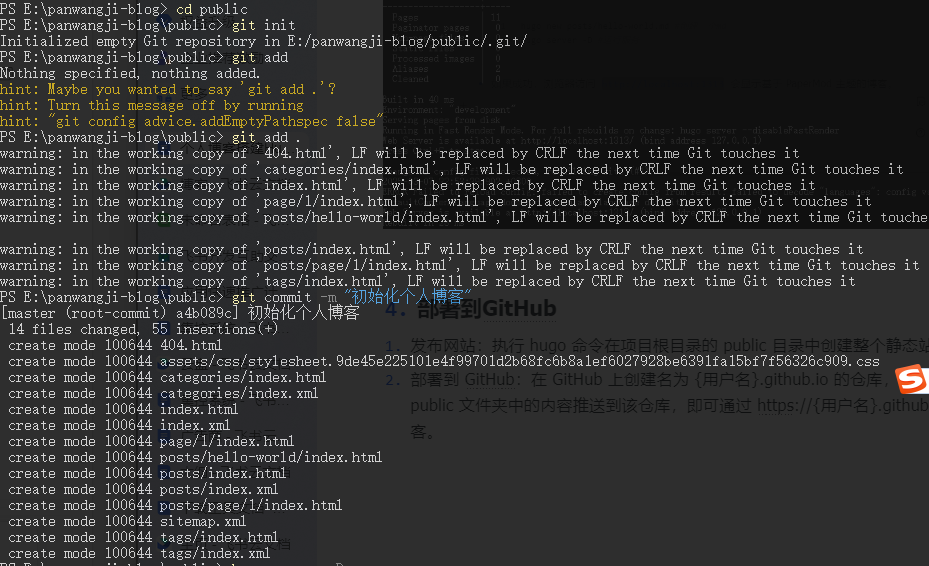
4. 部署到GitHub
-
发布网站:执行 hugo 命令在项目根目录的 public 目录中创建整个静态站点。
-
部署到 GitHub:在 GitHub 上创建名为 {用户名}.github.io 的仓库,将本地项目的 public 文件夹中的内容推送到该仓库,即可通过 https://{用户名}.github.io 访问博客。
1
2
3
4
|
git add .
git commit -m "初始化个人博客"
git remote add origin https://github.com/<用户名>/<用户名>.github.io.git
git push -u origin main
|
我搭建的Demo https://panwangvie.github.io/
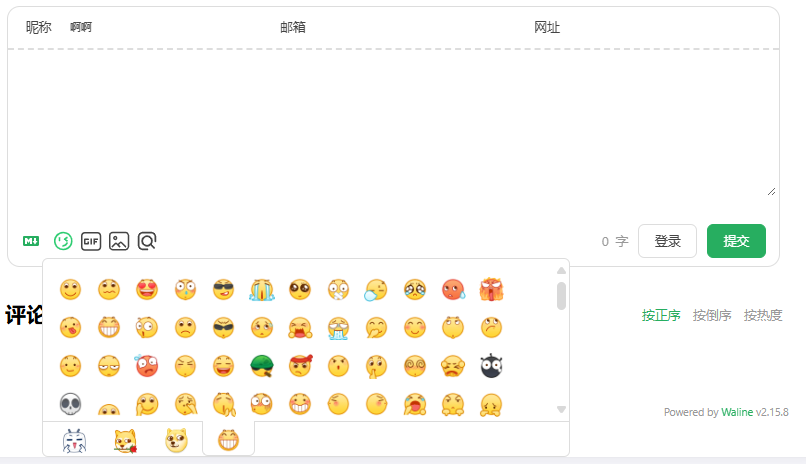
5. 博客评论系统的使用
博客中的评论系统是很重要的。这里我使用的是 Stack 模板支持的 Waline,搭建很简单,可以参考 Waline 官方指南。
配置 Waline 则可以参考这篇博客 hugo:添加评论功能(Waline) - 建站指南,我的 Waline 配置:
 1
 2
 3
 4
 5
 6
 7
 8
 9
10
11
12
13
14
15
16
17
18
19
20
21
22
23
24
25
26
27
28
|
         # Waline 评论系统配置,参考:https://waline.js.org/en/reference/component.html        waline:
        waline:
            # 这里填你的vercel服务器地址。
            # vercel自定义域名会和cloudflare会冲突导致无限301,所以干脆直接用送的域名了
            # 注意要部署总域名,而不是最新部署的版本域名(中间有一段随机英文字符的),否则会报 401 Unauthorized
            serverURL: https://waline-你的用户名.vercel.app/
            lang: zh-CN
            # 文章浏览量统计,在新版waline中已更名为pageview属性,貌似用不了了
            # 填入false代表不启用,填入字符串的时候会作为css选择器
            visitor: false
            # 头像来源,在V2中已移除该属性
            avatar:
            emoji:     #表情包地址详见https://waline.js.org/guide/features/emoji.html,饿了么提供的国内镜像(将 unpkg.com 替换为 npm.elemecdn.com)
                - https://npm.elemecdn.com/@waline/emojis@1.1.0/bilibili
                - https://npm.elemecdn.com/@waline/emojis@1.1.0/bmoji
                - https://npm.elemecdn.com/@waline/emojis@1.1.0/weibo
                - https://npm.elemecdn.com/@waline/emojis@1.2.0/qq
            # 回复时必填的内容
            requiredMeta:
                - name
                - email
                - url
            # 评论框的默认的文字
            placeholder: 欢迎留下宝贵的评论!
            # 自定义语言设置,参考https://waline.js.org/cookbook/customize/locale.html#locale-%E9%80%89%E9%A1%B9
            locale:
                admin: 会长
                sofa: 还没有人评论哦!快来抢沙发吧~
|
另外 emoji 官方提供了许多预设,可以查看预设列表自行选择。
但是官方提供的预设使用的 unpkg 经常会被墙而导致无法正常访问,这里推荐替换为饿了么提供的国内镜像(将 unpkg.com 替换为 npm.elemecdn.com)
6. 参考案例与资源
开源博客模板:https://github.com/adityatelange/hugo-PaperMod
Hugo 官方文档:https://gohugo.io/documentation/
GitHub Actions 配置示例:https://github.com/peaceiris/actions-hugo
其他安装教程: https://baize.wiki/blog/how-to-build-blog/
